Sep . 04, 2024 20:02 Back to list
gabion box installation product
Gabion Box Installation A Step-by-Step Guide
Gabion boxes are versatile and durable structures made from steel wire mesh filled with rocks, gravel, or other materials. They are primarily used for erosion control, retaining walls, and landscaping applications. Installing gabion boxes may seem daunting, but with the right approach, it can be a manageable task. In this article, we'll guide you through the process of installing gabion boxes effectively.
Preparation
Before you begin the installation, it is essential to plan your project. First, determine the location and purpose of your gabion boxes. This will help you decide on their size, number, and the type of materials to use. Next, gather your tools and materials, which typically include gabion boxes, rocks or fill material, gloves, a shovel, a level, and a hammer. Ensure you have a clear understanding of any local regulations regarding landscaping or construction in your area.
Site Preparation
The success of your gabion installation depends on proper site preparation. Clear the area of any vegetation, debris, or loose soil that may interfere with stability. Once the site is clear, use a level to mark out where the gabion boxes will be placed. It is crucial to have a flat and stable base to support the weight of the filled boxes. In some cases, you may need to excavate the area slightly to ensure the boxes sit evenly.
Assembly of Gabion Boxes
gabion box installation product

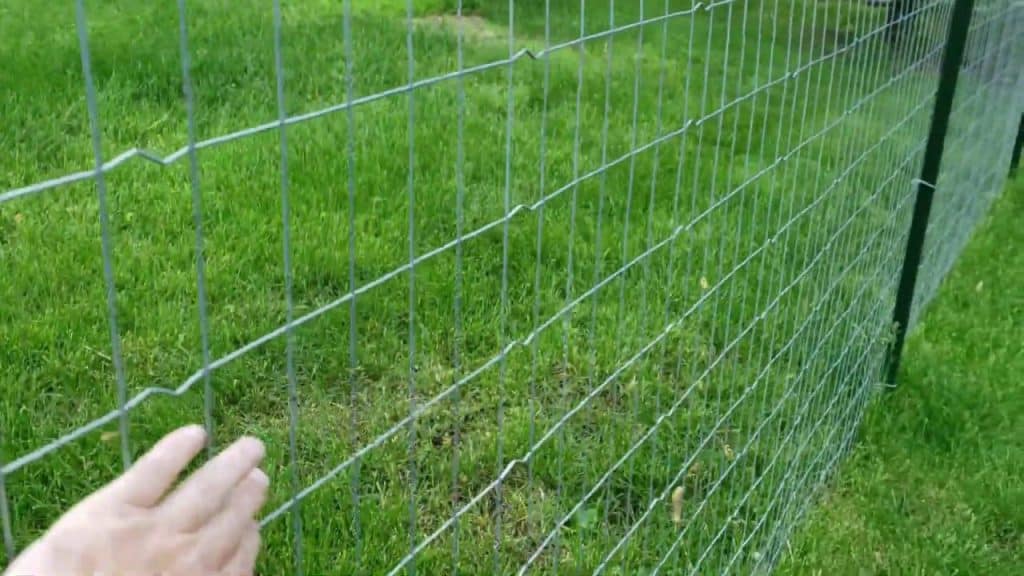
Gabion boxes typically come in panels that need to be assembled into a cube or rectangular shape. Secure the panels together using spiral binding or clips, which are often included with the boxes. Ensure that the corners are tightly fastened to maintain the integrity of the structure. Once assembled, it's advisable to place the gabion boxes in the desired location before filling them.
Filling the Gabion Boxes
After positioning the gabion boxes, it’s time to fill them. Start by placing larger stones or rocks at the bottom to create a stable foundation, followed by smaller fill material. As you fill the boxes, ensure that the rocks are packed tightly to prevent shifting. If necessary, use a rubber mallet to help settle the stones and fill any gaps.
Finishing Touches
Once the gabion boxes are filled, close the lids securely and fasten them in place using clips or ties. Use a level to make sure the boxes are even and well-aligned. You may also want to cover the top with soil and plant grass or other vegetation to blend the structure into your landscape. This not only enhances aesthetics but also provides added stability and erosion control.
Conclusion
Installing gabion boxes can greatly enhance your outdoor space while providing functional benefits such as erosion control. By following these steps, you can create sturdy and attractive structures that complement your landscape. With a bit of planning and effort, your gabion installation project can be a rewarding endeavor that stands the test of time.
-
Hop Dipped Galvanized/PVC Coated Temporary Fence - Anping County Xingzhi Metal Wiremesh Products Co., Ltd.|Temporary Fencing Solutions, Durable Security Products
NewsJul.30,2025
-
Hop Dipped Galvanized/PVC Coated Temporary Fence-Anping Xingzhi|Durability&Cost-Effective
NewsJul.30,2025
-
Hop-Dipped Galvanized PVC Fence - Anping Xingzhi | Durable, Quick Deployment
NewsJul.30,2025
-
Hop Dipped Galvanized/PVC Coated Temporary Fence - Anping County Xingzhi|Temporary Fencing, Durable Security, Customization
NewsJul.30,2025
-
Hop Dipped Galvanized PVC Coated Temporary Fences - Anping County Xingzhi|Durable Corrosion Resistance, Quick Installation
NewsJul.30,2025
-
Hop Dipped Galvanized / PVC Coated Temporary Fence - Anping County Xingzhi Metal Wiremesh Products Co., Ltd|Durable Temporary Fencing&Versatile Applications
NewsJul.30,2025


